Wednesday, February 29, 2012
playing with fire -- fabric flowers
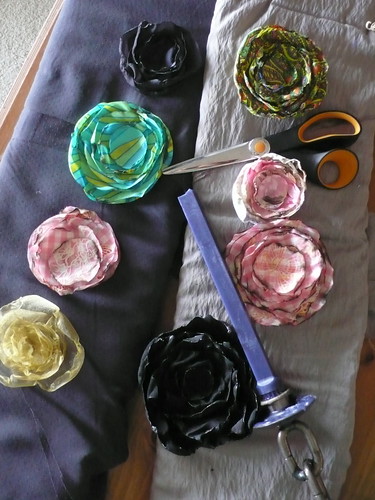
Last night, my friend Angela came over and we spent the evening making these vintage-inspired fabric flowers.
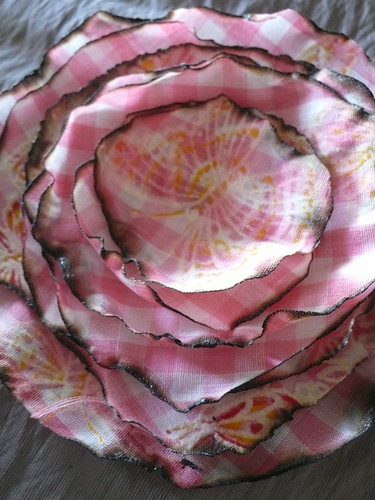
There are so many tutorials for fabric flowers out there, but this one appealed to me the most -- not only because I love the steam-punk/distressed look, but also because you get to play with FIRE, don't have to cut out perfect shapes, and can kind of just make it all up as you go along.
We followed this tutorial, but used a glue-gun instead of stitching. This worked well, except on the thinner fabrics when I burned my fingers with seeping hot glue. Next week we intend to glue beads, buttons, or other fun things in the middles to complete the flowers, then glue alligator clips to the back to turn them into hair accessories. Right now I'm just enjoying looking at them!
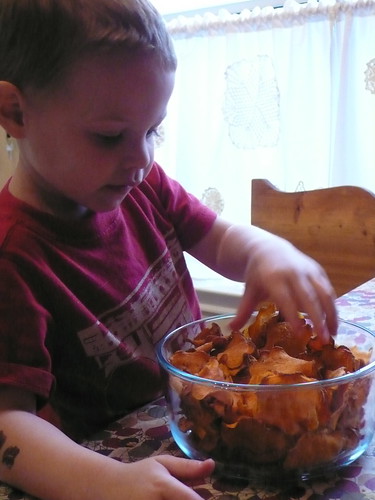
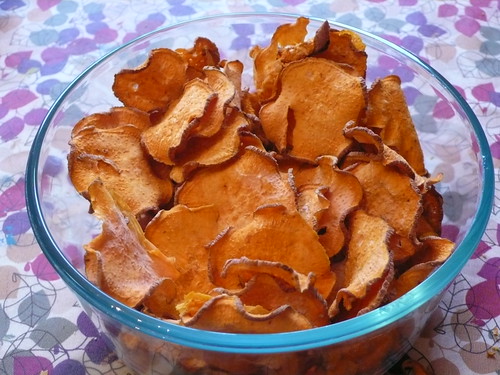
Unrelated, but Jonah and I have been having lots of fun thinking of things to put in our new dehydrator (we got this one, because I figured "go big or go home") (don't I always figure that?) (Seriously though, with 4 children, I need the biggest dehydrator to keep up with demand!) One of the first things we made were these sweet potato chips. Jonah loved them and snacked away the morning, not realizing that these chips were actually "grow-food".
A sprinkle of sea salt and a drizzle of olive oil before going in to dehydrate for about 12 hours....simple and delicious.
Friday, February 24, 2012
Chalkboard Labels
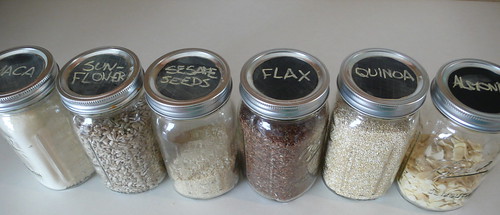
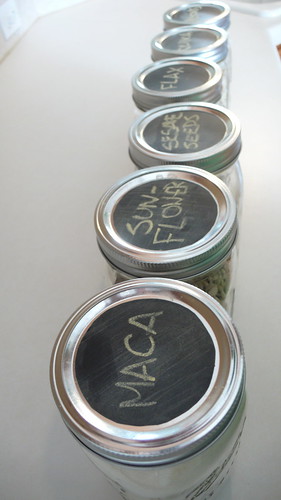
A few days ago, I noticed that my countertops were looking a little dingy. I started out by wiping them down a little...spot cleaning...next thing I knew, I had the bleach out, everything had been moved from counters to the island and kitchen table, I was putting things away that I never use but have just made the counter their "home", re-organizing to make my kitchen more efficient.....and suddenly I had an idea spark from something I'd seen on a blog somewhere: chalkboard labels. At first I thought I'd have to go out and buy some chalkboard paint, but then I remembered that I have something even better -- chalkboard contact paper. About 5 minutes later (using a compass for perfect circles) I had turned a bunch of quart-sized jars into my dry-goods/bulk food station:
I love having these all out where I can see them, and know at a glance if I am low on supplies.
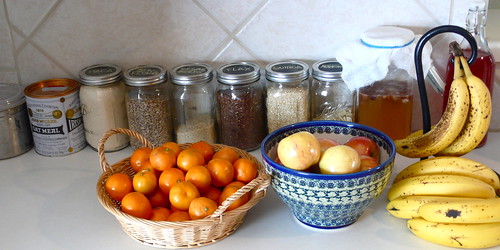
Had I known that I was doing a kitchen overhaul, I would have photographed "before" and "after", but here's what the counter by the sink looks like now.
I've got fruit out for the children to easily access for fresh snacks, and my water kefir (with sugar and raisins -- no lemons or ginger this time) is fermenting out where I can see it so that I won't forget it in the pantry (jar with cheesecloth, 2nd to far right). The flip-top soda-bottle at the furthest right is a batch of dried cherry kefir getting a 2nd fermentation to build up the fizz and complex B vitamins. To the far left is the sugar jar, and the next over is Irish Cut (steel cut) oats.
I didn't photograph the rest of my kitchen, but I'm so happy with the final result. After putting away all of the things that I don't use on a regular basis, I feel like there's room to breathe, and so much more counterspace. Everything is easier to keep clean and neat, because it's not all crowded anymore. I'm not a super "organized" kind of person (that's Greg's half of our relationship), but periodic full-on re-ordering like this refreshes my soul. I guess I'm just weird like that.
Yay clean kitchen!
Wednesday, February 22, 2012
Raw Tacos
I love tacos. I love them pretty much any way, but usually I make them with about half ground beef and half beans (red or black). I was skeptical of being able to recreate one of my favorite comfort foods as a raw dish, but I finally took the plunge....and loved them!
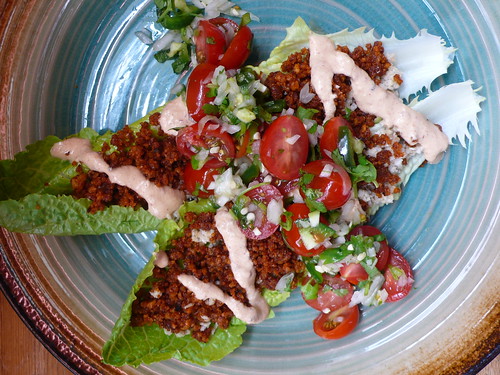
Here, I've used raw walnuts mixed with taco seasonings. For the rice, I modified Ani Phyo's recipe for "Sushi Rice" (from her book: Ani's Raw Food Essentials) using parsnips with a bit of apple cider vinegar and macadamia nuts. For the Chipotle "Cheese" Sauce, I pureed soaked cashews with a bit of water, lemon juice, a canned chipotle (not raw), and some nutritional yeast to make it "cheesy". I also threw together a quick Cherry Tomato Salsa/pico de gallo to put over the top. Served in Romaine lettuce boats, they were delicious, but I look forward to eventually having a dehydrator to make chips or wraps to make it more of a true "taco". So much fun with raw food!
Raw Walnut "Tacos" with Parsnip "Rice" and Spicy Chipotle "Cheese" Sauce
Serves: 2 people (or at least two people my size. I had this for lunch two days in a row.)
NOTE: The cashews for the "cheese" sauce need to be soaked 5 or 6 hours (or overnight) before making this, to plan that into your timeline. If you have a high-speed blender, you might be able to forgo the soak time, but I have not tried this since I have a "regular" KitchenAid blender.
Taco meat
3/4 cup raw walnuts
2 teaspoons chili powder
1 teaspoon cumin
1 tablespoon extra virgin olive oil
1 teaspoon Braggs Liquid Aminos, Nama Shoyu, or soy sauce (not raw)
Salt to taste
Pulse nuts, chili powder and cumin in food processor. Add olive oil and Braggs and pulse until the nuts are in crumbles and resemble taco meat. Taste and adjust seasoning as needed.
Rice
1-1/2 cups peeled and diced parsnips (alternately turnips or jicama can be used, although I have not tried either -- if you use jicama you will probably have to squeeze it out [after processing it] with cheese cloth, through a strainer, or with a nutmilk bag to get rid of some excess moisture before adding seasoning)
1/2 cup macadamia (or pine nuts, sunflower seeds, etc.)
1/4 teaspoon salt
2 teaspoons apple cider vinegar
Combine parsnips, macadamia nuts and salt in food processor. Pulse into rice sized fluffy bits. Add vinegar and pulse one or two more times to combine.
Spicy Chipotle Cheese Sauce
1/2 cup cashews
2 tablespoons fresh lemon juice
2 tablespoons water (or as needed)
1 canned chipotle chili (to make this completely raw, soak 1 dried chipotle in water at room temperature for 1 hour. Reserve soaking water and use in place of the 2 tablespoons of water in this recipe)
1/4 cup nutritional yeast (or as needed for "cheesiness")
Soak cashews for 5-6 hours or overnight. Drain and add to blender along with lemon juice, water, and chipotle chili. Blend until the sauce has become creamy (you may have to stop the blender several times to scrape down the sides, but keep at it -- it will all come together!) Add water as needed. Once it has become a creamy sauce, add nutritional yeast and blend to combine. Taste and add salt and/or more yeast to taste. If you are chilling this to use later, it will thicken up considerably. I added a little water to the amount I intended to eat when I was ready to use it so that I could make an attractive "drizzle". This is also delicious left thick and used as a dip for crudités.
Cherry Tomato Pico De Gallo
1/4 cup cherry tomatoes sliced in half
1/4 cup finely chopped red onion (or white or yellow or scallions....)
1/4 cup chopped cilantro
chopped fresh jalapeno to taste
salt to taste
cubed 1/4 of an avocado (optional)
Combine all in a small bowl.
Arrange your meal on large Romaine lettuce leaves. Enjoy!
Tuesday, February 21, 2012
Thinking of flowers...and a little bit of music
Lately I've been looking at a lot of fabric flower tutorials (delicate, t-shirt, felt, and my favorite -- burned), ...not sure why I haven't started on any yet, because they're just SO DARN CUTE! And I have ever so many fabric scraps in my scrap basket... I think I'll set up a little kit for myself to keep by the couch, so when I crash there to unwind at the end of the day, I won't have to exert any brain power to do a little hand-work.
I've got another raw recipe for you tomorrow, but for now, here's some recent videos from our church band doing a few more covers...my favorite is the a capella one -- made me feel a little melancholy (in a good way) about my choir and ensamble days in middle and high school. So much fun! (I am obviously the one in the hot pink leggings and slouchy cream colored knit hat to the far left.) :-)
Monday, February 20, 2012
Apple Pie Chia Pudding with Coconut Whipped Cream
For the past two months I've been slowly incorporating more and more raw food into my life. If you've been following me on Pinterest, you may have picked up on that based on all of the raw recipes I've been pinning. Now, of course, a raw meal can easily be as simple as some sliced carrots and celery with a handful of almonds, or a giant salad of romaine hearts sprinkled with sunflower seeds and chopped pecans. I, however, have the heart of a cook. I crave adventure, fun flavor combinations, and variety.
Recently I've been playing around with the ancient energy food: Chia seed (I've always had a love for tapioca pudding -- this is the raw answer to that craving). I am so fascinated by the ability the charcoal colored seed has to swell up and surround itself with water -- essentially turning itself into a pearl-filled pudding with nothing more than a soak in some liquid.
Yesterday I came up with this tasty "Apple Pie" inspired pudding that can serve as breakfast, lunch, or an afternoon snack. Dessert for lunch -- what could be better?
If you like tapioca pudding, I think will love this! Not only is does it taste delicious, but the Chia seed (rich in Omega 3 fatty acid) and coconut cream (full of dietary fiber, good fats, potassium and vitamin C among other things) are energizing live food that will give a great boost to your day.
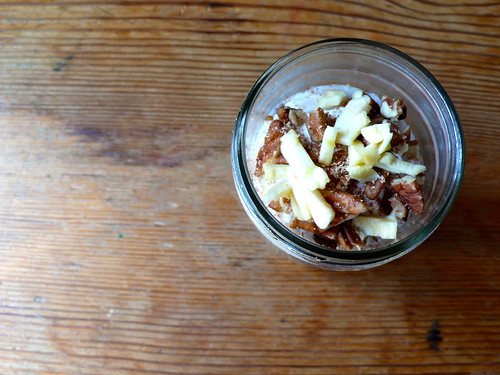
Apple Pie Chia Pudding with Coconut Whipped Cream
Approximately 360 calories. Click here for a complete nutritional analysis.
Free of refined sugar, gluten, and dairy. Can also be nut free if pecans are omitted from topping.
(NOTE: The can of coconut milk for the Coconut Whipped Cream needs to chill in the refrigerator overnight, and the Chia pudding needs to set up for at least 20 minutes before eating, so take that into account before starting this recipe.)
Makes: 1 serving
Chia Pudding
1/2 cup almond milk (or milk of choice)
2 tablespoons Chia seed (I use this one -- best price I've found on Amazon)
A pinch each of cinnamon and freshly grated nutmeg
1 tablespoon diced dried apples (and some finely chopped or grated fresh apple, if you'd like)
Splash of maple syrup, honey, agave nectar or Stevia if needed
Coconut Whipped Cream
1 can coconut milk (I like Taste of Thai brand -- your results may vary with other brands)
splash maple syrup, honey, agave nectar or Stevia
1/4 teaspoon vanilla (optional)
Topping
Cinnamon
Freshly grated nutmeg
Finely chopped pecans
Finely chopped dried apples
To make the whipped cream:
Put the can of coconut milk in the refrigerator 8 hours or overnight. (Haven't tried putting it in the freezer for a shorter time period, but if you have success with that, let me know.) Open the can of chilled coconut milk, and you will find that the top has solidified into a thick cream. Scoop cream off the top, leaving the watery part for shakes or some other use. Add to taste: maple syrup (my favorite!) or your sweetener of choice. Add vanilla if desired. Whip with a fork or a whisk until fully combined. Put cream back in the refrigerator until you're ready to use it. It will get thicker the colder it gets.
To make the pudding:
Combine milk, Chia seed, cinnamon, nutmeg, and dried (and/or fresh) apples. Taste for sweetness and stir in a little bit of your sweetener of choice if needed. Allow it to set up on the counter for 15 minutes, or in the refrigerator if you'd like to leave it longer (I've done this the night before to have it ready for breakfast).
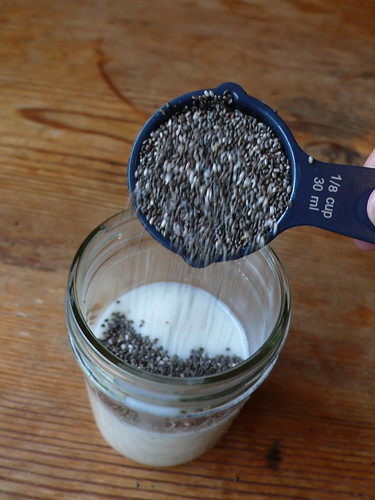
To assemble:
Give the pudding a good stir with a fork, breaking up clumps. Top the pudding with a few spoonfuls of the coconut whipped cream. Sprinkle with the toppings. Enjoy!!
If you have a favorite way to eat Chia seed, let me know!
Recently I've been playing around with the ancient energy food: Chia seed (I've always had a love for tapioca pudding -- this is the raw answer to that craving). I am so fascinated by the ability the charcoal colored seed has to swell up and surround itself with water -- essentially turning itself into a pearl-filled pudding with nothing more than a soak in some liquid.
Yesterday I came up with this tasty "Apple Pie" inspired pudding that can serve as breakfast, lunch, or an afternoon snack. Dessert for lunch -- what could be better?
If you like tapioca pudding, I think will love this! Not only is does it taste delicious, but the Chia seed (rich in Omega 3 fatty acid) and coconut cream (full of dietary fiber, good fats, potassium and vitamin C among other things) are energizing live food that will give a great boost to your day.
Apple Pie Chia Pudding with Coconut Whipped Cream
Approximately 360 calories. Click here for a complete nutritional analysis.
Free of refined sugar, gluten, and dairy. Can also be nut free if pecans are omitted from topping.
(NOTE: The can of coconut milk for the Coconut Whipped Cream needs to chill in the refrigerator overnight, and the Chia pudding needs to set up for at least 20 minutes before eating, so take that into account before starting this recipe.)
Makes: 1 serving
Chia Pudding
1/2 cup almond milk (or milk of choice)
2 tablespoons Chia seed (I use this one -- best price I've found on Amazon)
A pinch each of cinnamon and freshly grated nutmeg
1 tablespoon diced dried apples (and some finely chopped or grated fresh apple, if you'd like)
Splash of maple syrup, honey, agave nectar or Stevia if needed
1 can coconut milk (I like Taste of Thai brand -- your results may vary with other brands)
splash maple syrup, honey, agave nectar or Stevia
1/4 teaspoon vanilla (optional)
Topping
Cinnamon
Freshly grated nutmeg
Finely chopped pecans
Finely chopped dried apples
To make the whipped cream:
Put the can of coconut milk in the refrigerator 8 hours or overnight. (Haven't tried putting it in the freezer for a shorter time period, but if you have success with that, let me know.) Open the can of chilled coconut milk, and you will find that the top has solidified into a thick cream. Scoop cream off the top, leaving the watery part for shakes or some other use. Add to taste: maple syrup (my favorite!) or your sweetener of choice. Add vanilla if desired. Whip with a fork or a whisk until fully combined. Put cream back in the refrigerator until you're ready to use it. It will get thicker the colder it gets.
To make the pudding:
Combine milk, Chia seed, cinnamon, nutmeg, and dried (and/or fresh) apples. Taste for sweetness and stir in a little bit of your sweetener of choice if needed. Allow it to set up on the counter for 15 minutes, or in the refrigerator if you'd like to leave it longer (I've done this the night before to have it ready for breakfast).
To assemble:
Give the pudding a good stir with a fork, breaking up clumps. Top the pudding with a few spoonfuls of the coconut whipped cream. Sprinkle with the toppings. Enjoy!!
If you have a favorite way to eat Chia seed, let me know!
Sunday, February 19, 2012
A collection of finished projects
One of the benefits of slowly chipping away at several projects at once... is that at some point, you suddenly have a week of finishing. This past week was one of those times. So satisfying, and yet at the same time...what do I work on now?
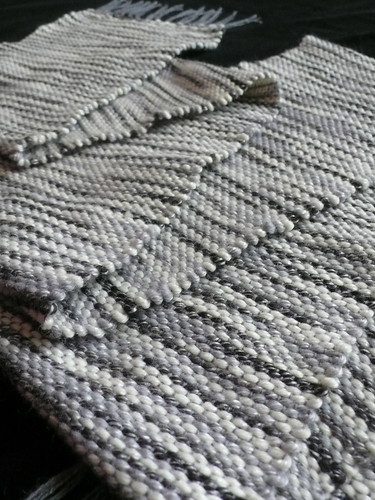
A "Get Well Soon" scarf for a brother who's broken leg has already mended... (woven on my cute little Schacht Cricket loom from Spunky Eclectic)
My 3rd One Row Handspun Scarf (actually 4th, if you include the one that Alke sent me a few years ago!) It's the PERFECT mindless project. Might just cast on for another...
It's not quite long enough to tie, but it's perfect for tucking into my coat and folding down into a little shawl collar, kind of like a faux-dickie. (Which amuses me, because a dickie is basically a faux shirt....)
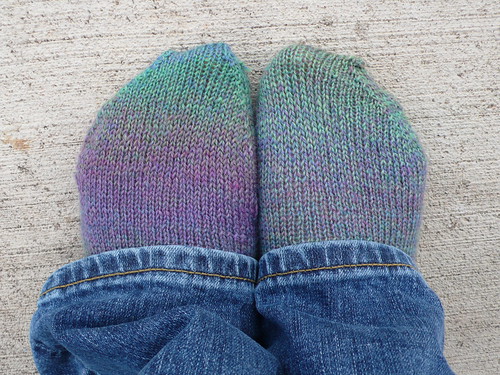
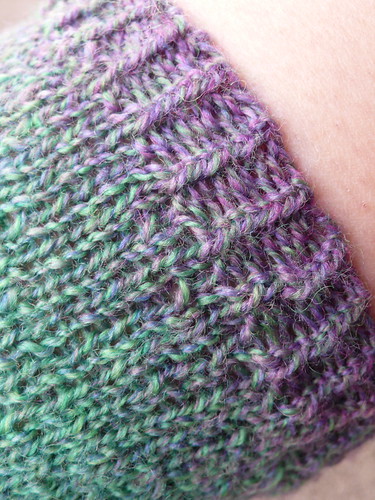
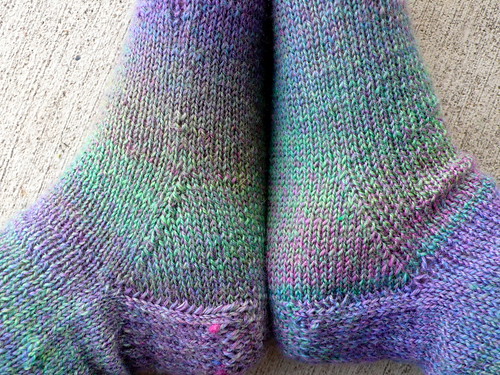
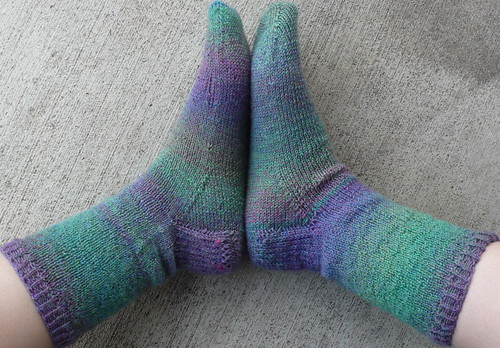
And finally, I finished this pair of socks. They are knit in Jojoland Melody (purchased from my local yarn shop), and knit according to the basic 64-stitch sock pattern in my head.
Twisted rib cuff detail
Heel gusset detail
Maybe it's time to dig out a few UFO's (Un-Finished Objects)......................
Friday, February 17, 2012
Note-cards: creative afternoon
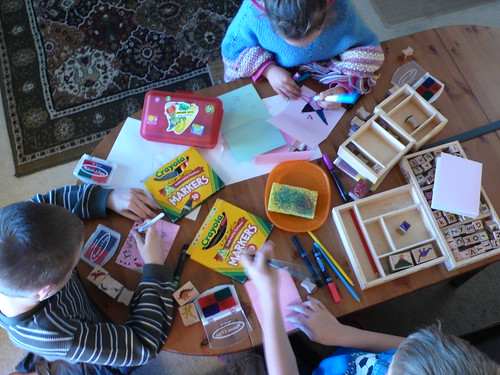
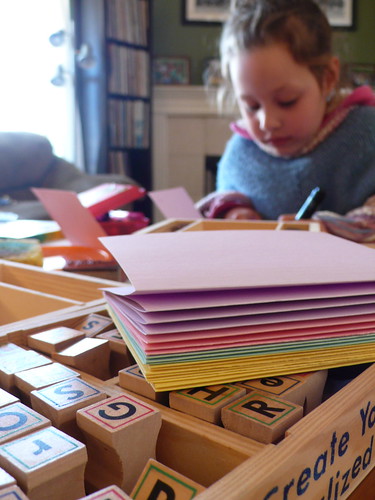
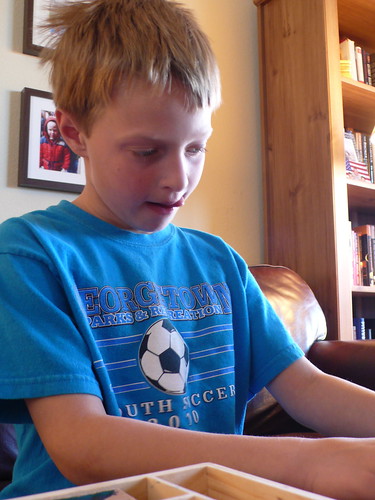
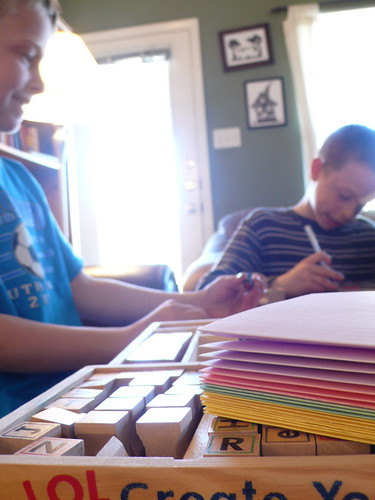
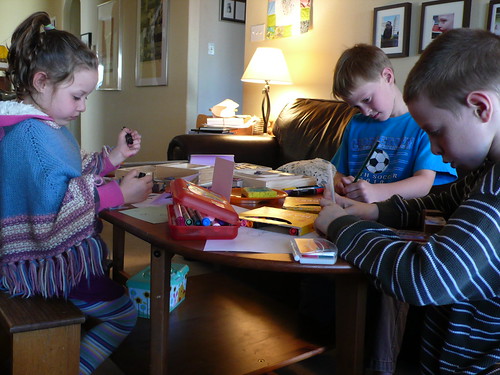
A few weeks ago, Andrew, Elijah and Lavella were in a funk (Jonah was napping). Obviously, it was time for a project. I pulled out some stamping sets that they'd forgotten about, cut a stack of cardstock into blank note-cards, and got them started.
Quiet, focused, creative play. It's a beautiful thing.
Thursday, February 16, 2012
Tumble Boy
On Fridays Jonah and I have started going to a local kid's gym for an hour of free-play. We meet up with two other little friends, and Jonah runs and tumbles and swings until he is all sweaty and breathless. It's hard to get him out of there gracefully ("Can't we just live here?! WHAT?!!! I have to LEAVE???!!!! I have literally never never been so disappointed IN MY LIFE!!!"), but it's still fun and completely worth it, because it gives us a good solid hour of Happy Morning. And that, my friends, is priceless.
Here are some action shots of my little monkey on the rope swing:
Wednesday, February 15, 2012
A Very Green Breakfast
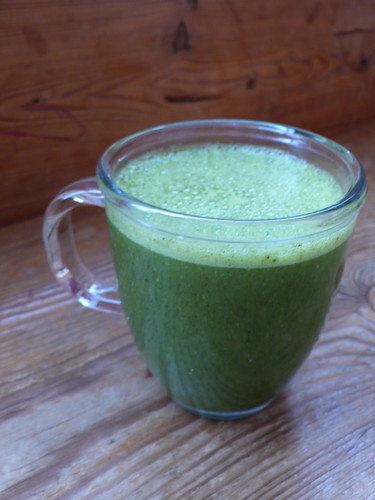
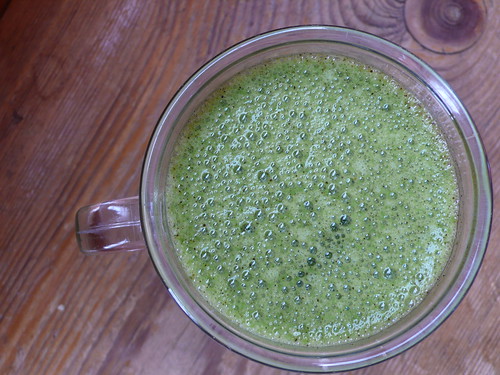
I'm either all or nothing. Either I eat greens all the time, or I buy a bag of salad greens....and let it rot in my produce drawers. One way I've found to get myself off to a good start in the morning is with a filling and energizing green protein shake. I started making green/berry smoothies back in December, with the blackberries or blueberries actually making it purple (a gentle way to start, since "green" can be an alarming color for the un-initiated). More recently I've been making an even simpler shake that I think is rather delicious. It's bright green, about 225 calories, and it gets me all the way to lunch before I'm hungry again. Score! (Note: hemp protein adds a nutty flavor here along with heart healthy fats, but if you have another protein powder you'd like to substitute, or even just a few tablespoons of nut butter, go ahead. Have fun and experiment!)
Green Breakfast Smoothie
Makes 1 shake
Ingredients:
Approx. 2 cups kale (ribs and stems ripped out) or spinach
1 cup almond milk (or your milk of choice)
2 tablespoons hemp protein (I use Nutiva brand)
1 ripe banana (preferably frozen)
honey, agave nectar or Stevia to taste...although if your banana is really ripe, you probably won't need it
Blend until smooth. Add a handful of crushed ice at the end if you like it really cold. Enjoy an energetic start to your day!
Tuesday, February 14, 2012
Valentine
Happy Valentine's Day! Just like last year, the children and I made little lollipop cards to give to school friends. They're so cute, I can hardly handle it!
Elijah brought home this precious/funny Valentine's Day letter from school -- I cannot even say how much I love it!
My favorite Valentine of all was from Greg -- he sent me these balloons via a balloon courier....rather hysterical if you have seen the movie "No Strings Attached".... But I'll leave you to ponder that one on your own. (NO, it does not mean that I'm pregnant -- that's not surgically possible anymore.)
I hope that your day is filled with those you love.
Sunday, February 12, 2012
A Month of Daytime Dates
Wow, it's been a while, friends! Greg took last month off from work, so we got lots of "regular" family time together (i.e., no special trips, just soaking in day-to-day life), and enjoyed it greatly. On the Mondays and Wednesdays of January, we took advantage of the fact that all of our children were in school, and went out on little morning dates. Such a fun change of pace!
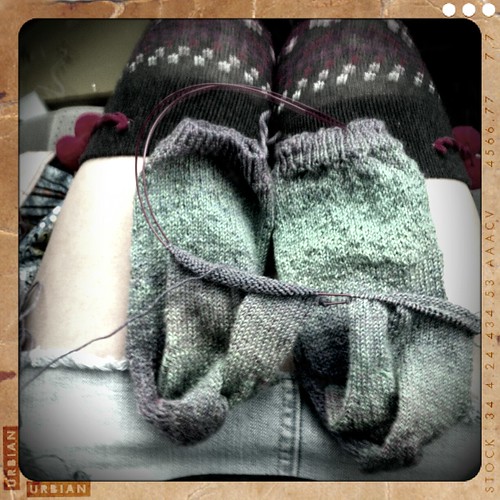
Sock knitting while driving into Austin
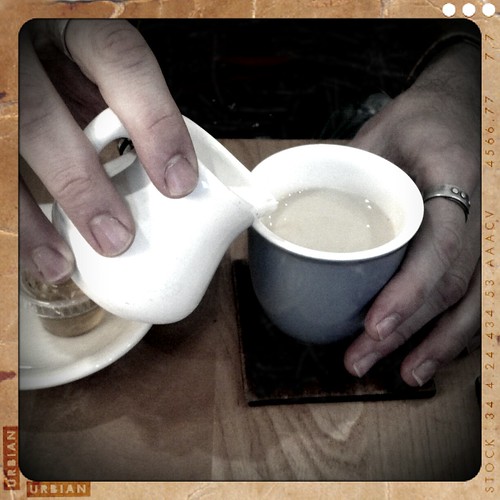
A tea-room at The Domain
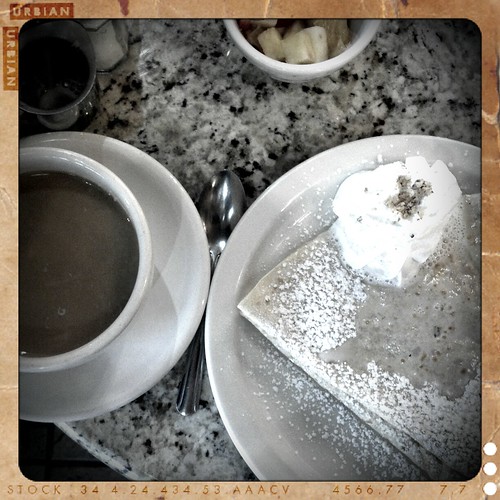
Crepes for breakfast! I had the brei, pear and walnut.
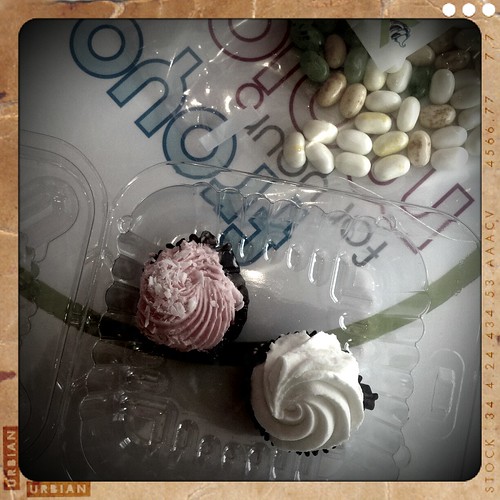
Mini cheesecake bites and Jelly Bellys at Campus Candy
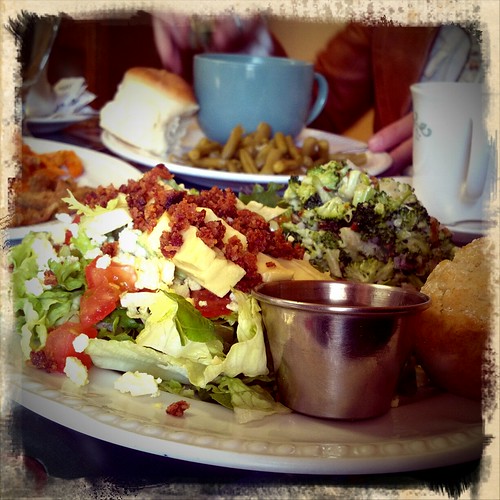
Star Seeds Cafe -- loved this place, and I want to go back soon.
Laurie's Too tea-room on the Georgetown old historic square.
Discovery in an antique shop on the Georgetown square
I've been doing a bit of knitting, but for right now we're working on re-adjusting to Greg not being around all the time anymore. Never a dull moment with four children, I can assure you.
Subscribe to:
Posts (Atom)